Now, this is how I use a template. I don't claim to know the perfect way, or the best way. I just figured I'd share how I do it.
I scrap in Photoshop CS3, so this tutorial will be shown using that program. But using a template in other versions, as well as Photoshop Elements, is a very similar process. I also use a Mac. So when I say "Command", you Windows users replace it with Control. Ok?
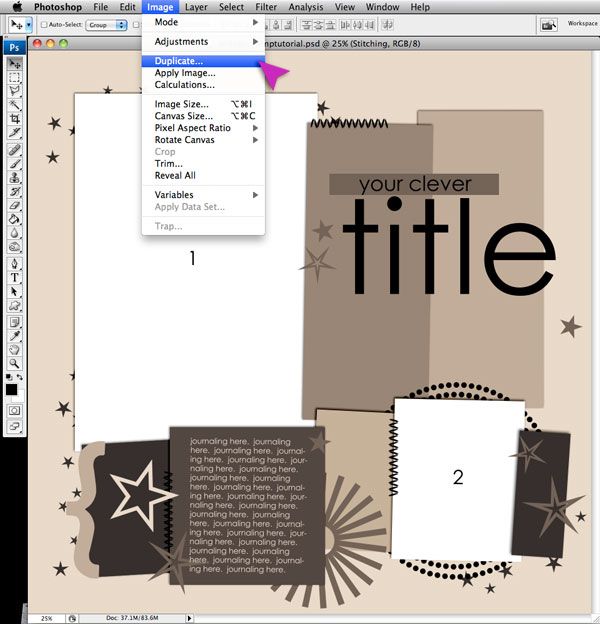
First thing first. I open a template that I like!
Once I have my template open, I go to Image > Duplicate and then click OK. Then close the original template. If I don't do this right away, I'll forget and end up saving over my template on accident with my own page. But if I remember to duplicate it, then the original template is safe and I can use it again some day if I want.
**Download this freebie template I used as at the end of this post!!**
(Bonus Tip: It's fun to flip a template, rotate it, shrink everything or enlarge everything and make the template a whole new page. You can get multiple uses out of the same template! To rotate or flip a template I just go to Image > Rotate Canvas. To shrink or enlarge everything, I highlight all the layers - except the background - Command + Alt (or Option) +A and then transform until I like it.)
Next I like to add my photos. I can't really make a final choice for papers or elements, until I see how my photos are going to look on the page so I can coordinate it all.
I open my photos in Photoshop and do whatever actions, editing, etc. that I want to do with them. Once I have them edited to my liking, I simply copy the photo, and paste it into my template.
To copy the photo I hit Command + A, which is Select All. And then Command + C, which is Copy. (To turn off the marching ants, or deselect just hit Command + D.)
You can also drag and drop into your template if that's easier for you. Again, this is just how I do it, and I like to copy and paste.
Then I go to my template and click on the photo layer in the Layers Palette that I want my photo to go on. This way, when I paste it, it will paste on top of that layer.
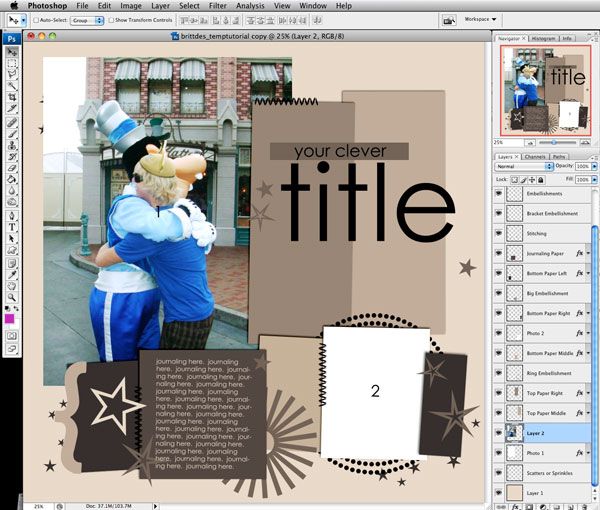
I use Command + V to paste. When you paste, you'll notice everything you paste goes to the dead center of the page. So you'll have to move your photo around and place it where you like it. You'll also notice my photo is bigger than the photo spot in the template. This is where Clipping Masks come in! Clipping Masks are a template's best friend.
I position my photo above the general area of the photo spot in the template, making sure that in the Layers Palette the photo is directly above the photo spot you want to clip to.
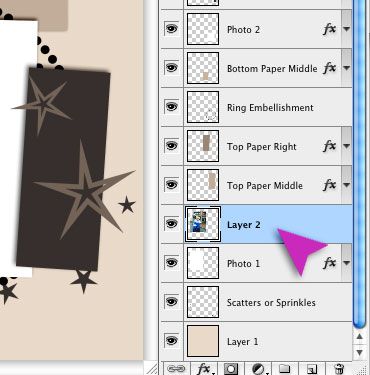
Then click Command + Shift + G (Elements users, you can just do Command + G) or right click the layer in the Layers Palette and select Create Clipping Mask. This will clip the layer that's highlighted to whatever layer is directly below it in the Layers Palette. So this should clip my photo to the photo spot.
Then I move my photo around, shrink it down, whatever I need to do to make the photo look good in the photo spot. (When you shrink or size your photos, make sure to hold the Shift key to keep the proportions and not skew the photo.) If you need to slightly change the shape of the photo spot to accommodate your photo, you can do that too.
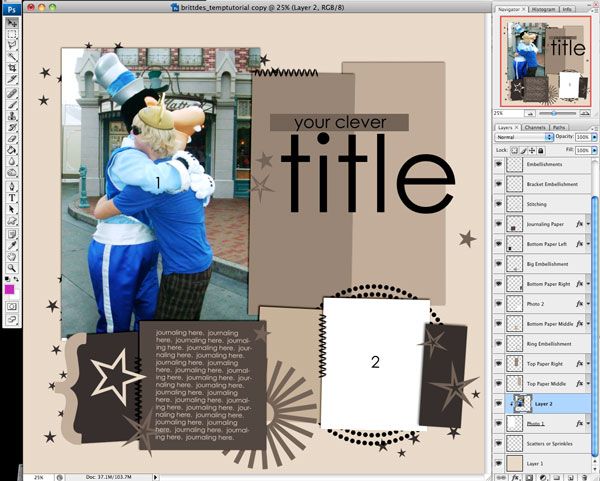
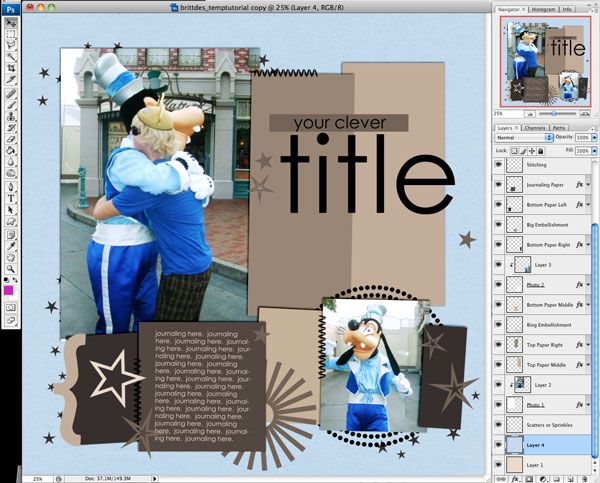
Now, see how you can still see the "1" from the template on top of the photo? Those are just markers and are all on the "Delete This Layer" layer at the top of the Layers Palette. You can either delete this whole layer right away, or you can erase parts that start to bug you as you work. I normally just erase the parts that are in my way, or bugging me as I work, but I don't delete the whole layer because I like it to keep my place for the title, journaling etc. until I put those in.
SAVE YOUR PAGE!! Click File > Save As and save that layout. You don't want to lose your work!
I know some people merge their photos with the photo spot layers in the template, but I don't. Because sometimes I like to tweak the photo's position within the photo spot as I work. For example, if an embellishment starts to cover a face, I can move the photo over a little inside the photo spot to make it look better. So I just leave them as clipping masks.
Ok, so then I put the other photos in using the same process.
Next I'll put in my papers. I'll start with the background. I click on the bottom layer, named "Background". I'll open whatever paper I want for my background and do the same Copy & Paste process as I did for my photos. Command + A then Command + C and then paste (Command + V) it onto my template, directly above the background layer.
Then I put papers in all those paper spots. I do this pretty much exactly like I do the photos. I copy my paper, paste it on top of the paper spot, and create a Clipping Mask. Then I move the paper around until I like the part that's showing. I can shrink the papers down if I want a smaller pattern, rotate the paper. Whatever I want!
(Bonus Tip: Try putting extra photos into paper spots instead of papers!!)

(Save!! Save!! Save!!)
Now - a quick mention about shadows. Some templates include shadows, some don't. MANY of my templates do. I like to adjust shadows and make them look good as I go. Some people like to do all their shadow work at the end. If you like the shadows that come with your template, then GREAT! But if you want to tweak 'em, feel free! Change the angle, blending mode, opacity, whatever you want. If you'd rather clear all the layer styles and start fresh doing your own shadows, you can select all the layers (Command + Alt (or Option) + A) the right-click and select "Clear Layer Style".
Ok - all my papers and photos are in place. Time for the best part. Embellishing!! I love to decorate my page. There are place markers for embellishments, but, of course, you don't have to use them if you like embellishments in different places. Make sure you delete the embellishment place marker layer that comes with the template at some point.
I put in my title and journaling now too.
Keep hitting SAVE as you work! It's the WORST to lose your work.
Here's my page, once it's all embellished, titled, and journaled. And that's it! My template page is complete!!
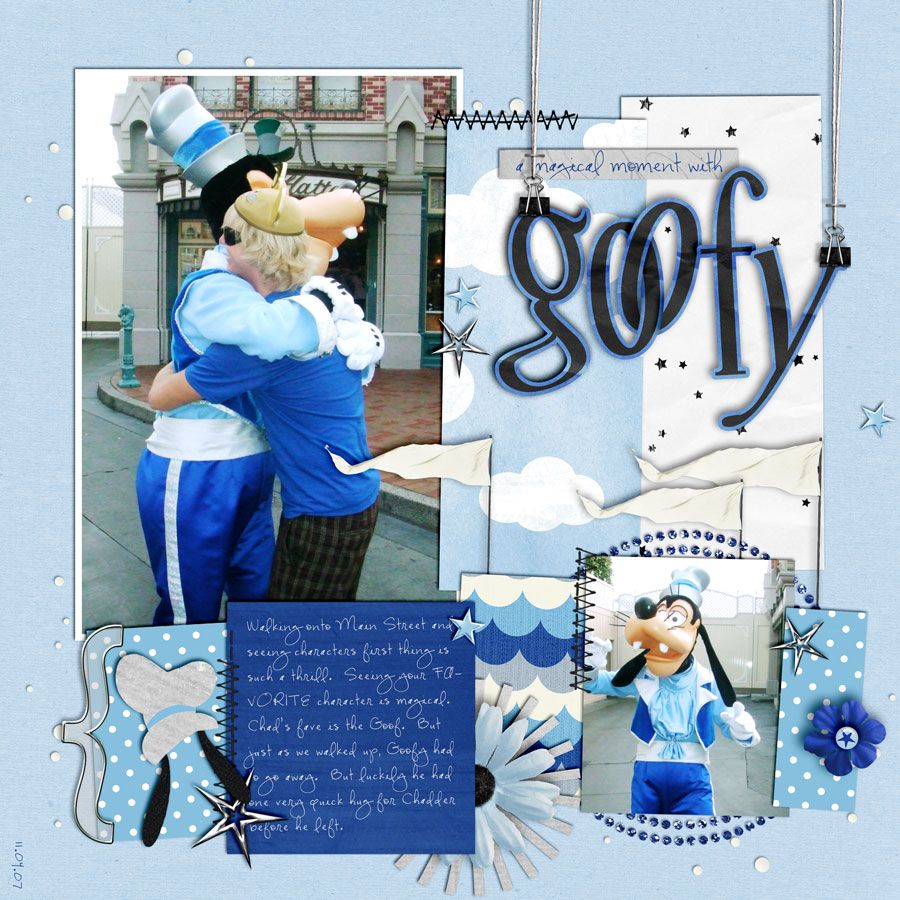
Using templates is so easy! They make scrapping a snap. I hope this tutorial helped!!
Try it out for yourself!! This template is my gift to you!
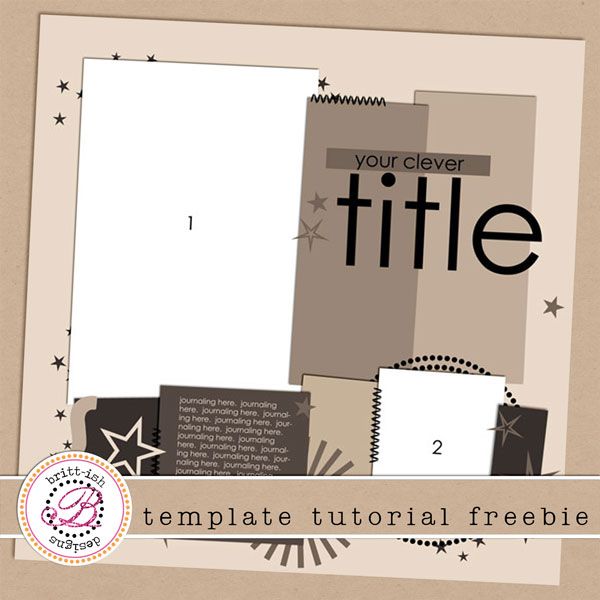
{{ DOWNLOAD HERE }}


0 komentar on Tips from Britt: Template Tutorial :
Post a Comment